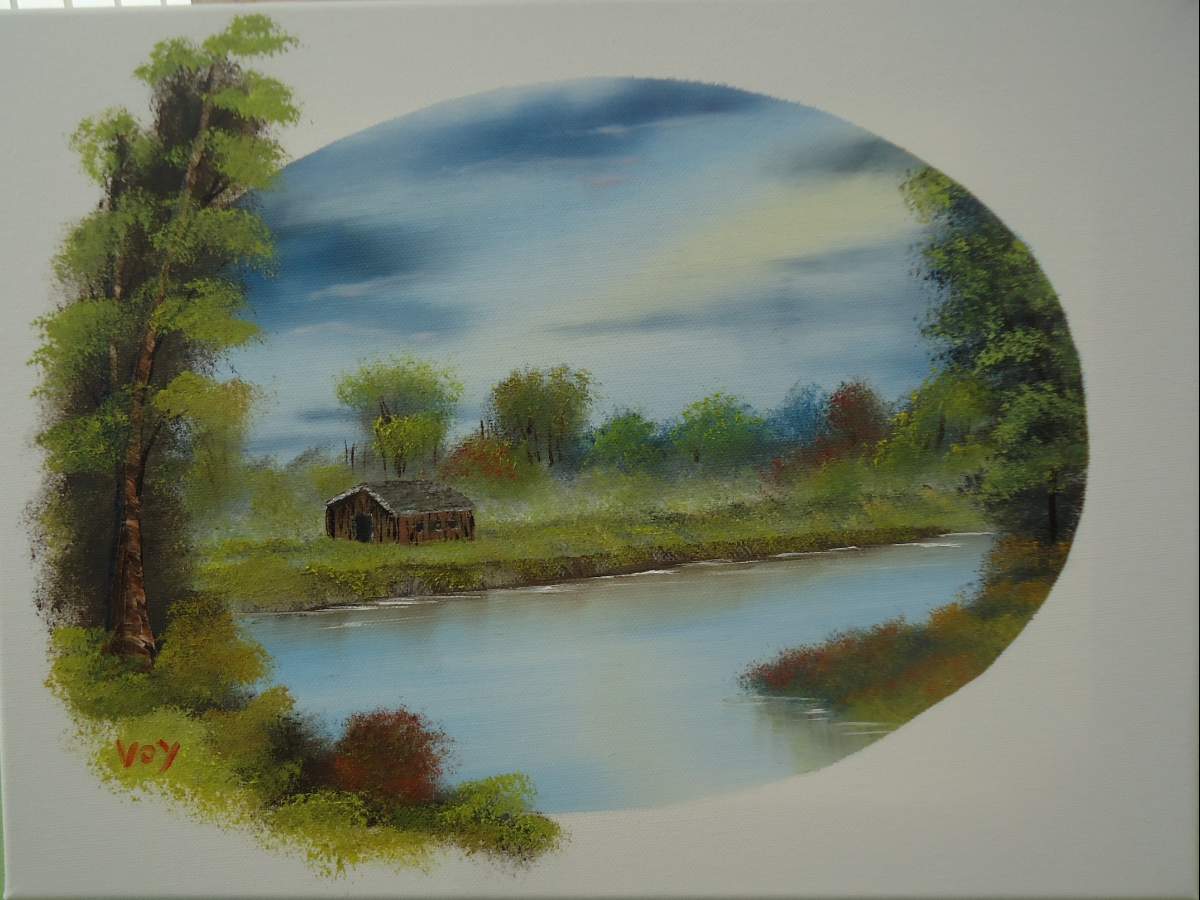
Yet another creation from season 23! I still had an oval left (my last old hardly sticking one, which also explains some tiny bleeders at the oval edges) and decided, after last weekend's liquid clear disaster, to try this little landscape today.
Lots of colours, lots of brushes, in all nothing too difficult here or it must be to keep the background scenery in contrast with the foreground since foliage of the same value tends to cover each other there.
Canvas used was a HQ 12"x16" and this was painted in some two hours.
Please enjoy, read some articles and if willing, comment on those as well, thanks.
Comments
Dear Lightsnow, thank so much for your cherished comment!!
In fact, this canvas was too small to do justice to all painted items. That's why my foliage and grass, once again, are shaky since most of my brushes are too big for this creation.
Anway, I feel it in the stomach when I pull away that contact paper and I am always surprised how well such ovals work.
I was tempted to paint he right tree through the oval as well but that might've ruined the effect on the left side.
I did notice your wonderful painting of this creation and can imagine that one paints much better on that 18"x24". And your foliage is out of this world!!
Till next one!
This is awesome Voy! I love it. I have been hesitant to try an oval painting, but you have motivated me to give one a go in the near future.
Wonderful summer painting Voy! I love the colors ! Everything is super!
Thanks Heather!
The more I use ovals, the more I love them! And with good contact paper or tape, you can experiment on shpaes and sizes (read my article about this!).
I encourage you to try them, this paper is easy to buy from Amazon and I know certain hobby stores sell them too!
Good luck!
Sunnylady .... no creation of mine has its true value without a comment from you!
Thank you my friend! 🥰
silly question....maybe not.... how do you create a good oval and cut it out????
Another beautiful scene! Nice touch with the delicate looking trees and foliage.
Thank you FVG, I know you create excellent ovals and other shapes as well!
I needed to be careful with trees and bushes since my brushes were too big and the canvas was a smaller one. I'm so happy it worked out well this time!
Till next one!
There are two good ways to create and cut an oval.
The first one was an idea from Jin7, our Japanese CRI in this community, where he creates his ovals by computer. Choose your drawing program (e.g. MS Paint) and draw an oval up to the desired dimensions. Then print it out! If you need a bigger oval, you can draw half an ellipse and print it twice.
Cut the oval (or both half ovals) out from the print, place it on the contact paper (back side) and draw its contour on it. Then cut it out with cutting knife or scissors. The slower you do this, the more accurate.
My way to do this is using a compass, a ruler and a pencil. Search the internet for a site where you can find 'How to create an oval/ellipse'. Follow the instructions and draw this on the contact paper (back side) with the desired dimensions. I always use a cutter to make a small slice in the paper, just big enough to put my scissors in and then start cutting.
In both cases, keep the inner oval that you had cut out to use for future projects.
Also check out this article:
https://www.twoinchbrush.com/articles/use-of-contact-paper
Good luck!
Sign in to leave a comment.
Not a member yet?
Join over 6100 other painters and share your
paintings with the world!


Very nice! I remember painting this one. It really stuck in my mind as one of my favorite painting experiences. There's something about this composition. You did a really great job here. How did you feel about breaking that nice little oval once you took your paper off? I remember experiencing a lot of hesitation there. I'm glad you decided on adding the exterior tree because it looks great. I don't know why this is my favorite part, but I really like where the river curves on the bottom right. Who knows where that might lead. Good stuff!